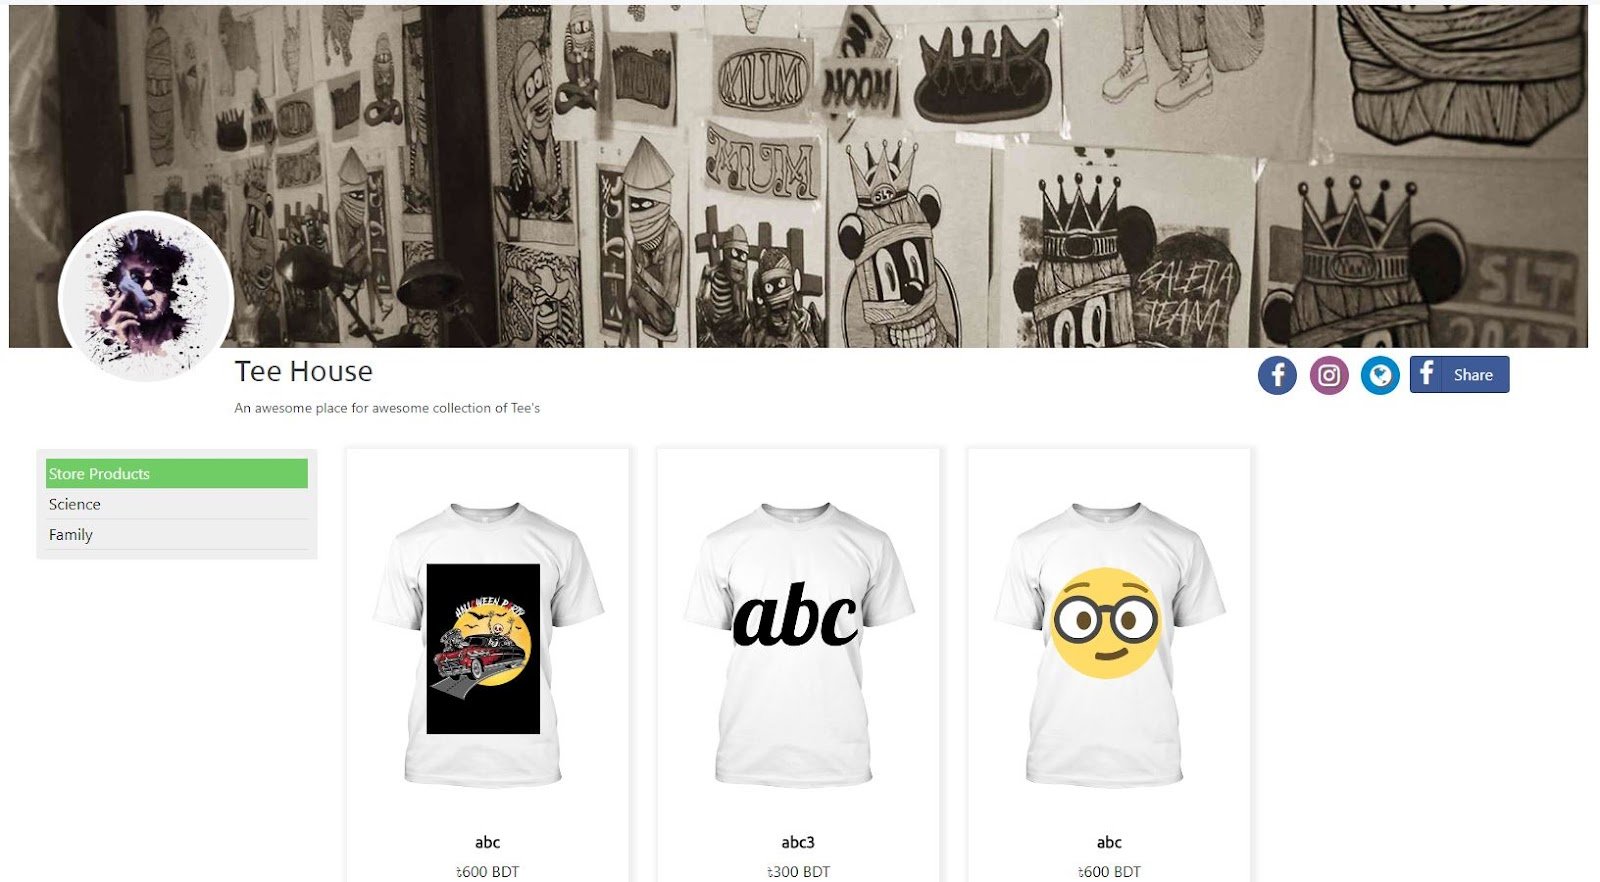
About Stroefront
Storefronts is a great tool if you want to display multiple campaigns in one place (and be able to share numerous campaigns using one URL).
There’s no better way to show off your collections of awesome designs than by setting up a Xplo Fashion Store! Not only does having a storefront unlock more sales, but they also help you to build a true brand asset that your buyers will return to again and again. Campaigns in storefronts get more views on average than those not in storefronts. Also, campaigns in storefronts sell more units than those not in storefronts.
Once you create a store in Xplo Fashion , it automatically becomes a public link (no admin authorization is required for stores). All your prior and later campaigns will be instantly added categorically in your store and ready to be displayed in front of your audience.

Step 1. Navigate to the “Storefronts” tab in your Dashboard.
Step 2. Give your store data in the “Manage Store” section. The “Store Title” and “Description” fields are compulsory. Logo and Banner images are optional fields. If you leave out any of these fields, the system will generate default images for those.
Note: You will not be able to share your store in Facebook if you do not select a banner image for your store. You can preview your store in the adjacent preview section while you are working on your store creation.
Step 3. When all information is provided you submit the form and immediately you will see a “View Store” button at the top right corner. Click there and you will find a brand new store with all your campaigns is ready to be shared among your customers.You will find Facebook, Instagram and website icons in your store if you provide the corresponding URLs in the form. These links are useful for your customers when they want to know more about their seller and also useful for you as a seller when you wish to redirect your customers to other networks in regards to showcase your products or to reveal more about yourself.

All secure payment methods
Satisfaction guaranteed
Made with premium quality materials.
Cozy yet lasts the test of time
Worldwide delivery

